Your product page is where shoppers can learn more about a product and understand whether it is worth purchasing. By optimizing your product page and adding elements that increase its appeal, you can increase conversions and maximize your sales. Here's our step by step guide to get your product pages right!
How to Edit Shopify Product Pages
When setting up your product pages, it’s always best to create one and then duplicate that so that you can arrange your product images and structure your description in a similar way to keep the format exactly the same. It's also better to create some sorting options (or sort order) for the product pages.
Here are 13 steps you can take to step up your Shopify product page:
- Click on ‘Products’ and click on the ‘Add Product’ button.
- Add an easy to remember product title. Your product title should have a unique name for the product as well as the type of product it is. For instance, if you sell dresses, your product title could be ‘Ella Strappy Dress’.
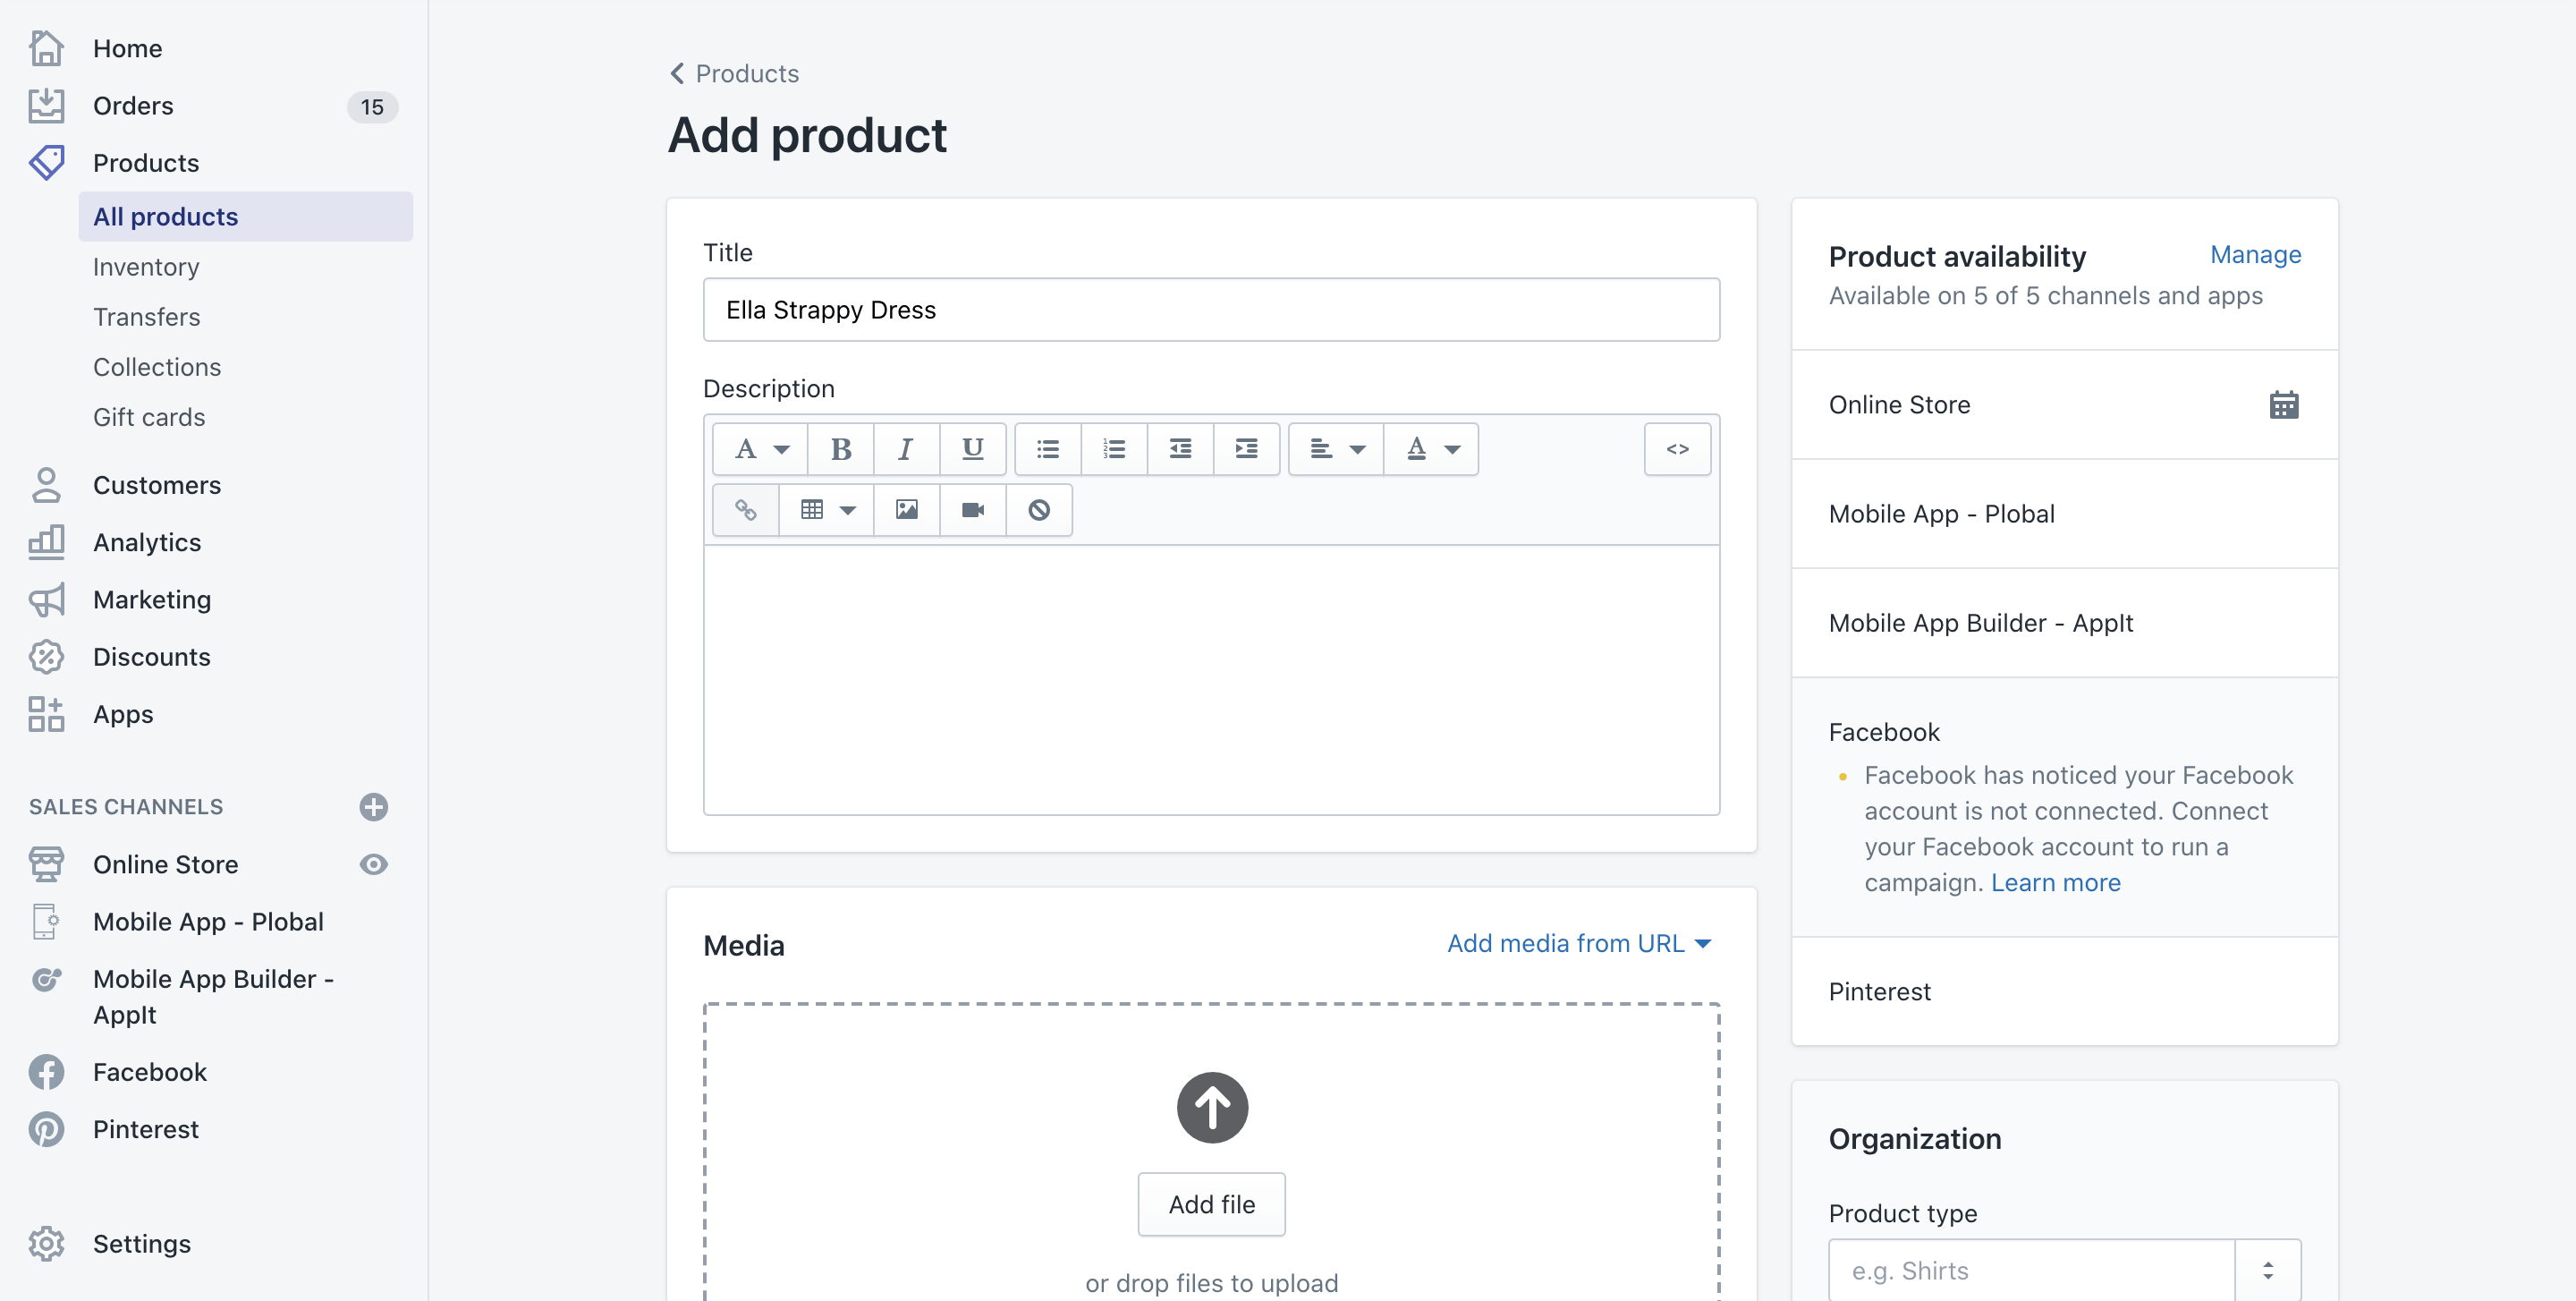
3. Add a description. Ensure that your description follows a specific format. Include minute details about your product like length, weight, calories, etc. This can help the shopper make better decisions.
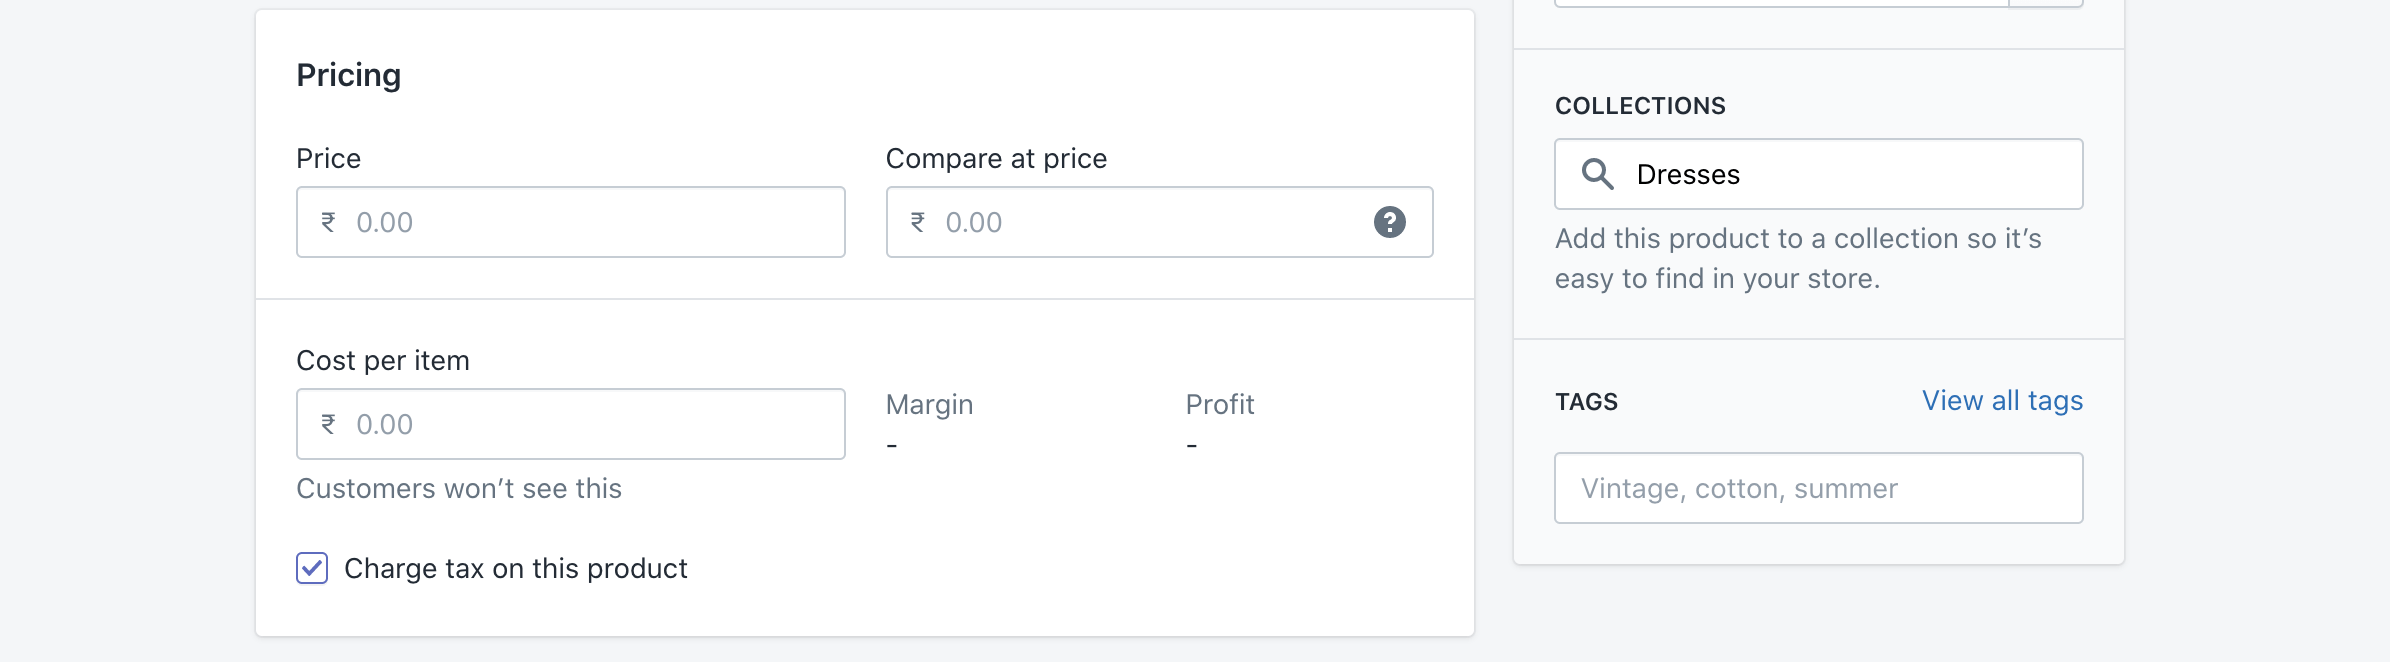
4. Select the collection within which the product will be shown. When creating a simple collection, ensure that the products in a collection are structured and clutter-free.
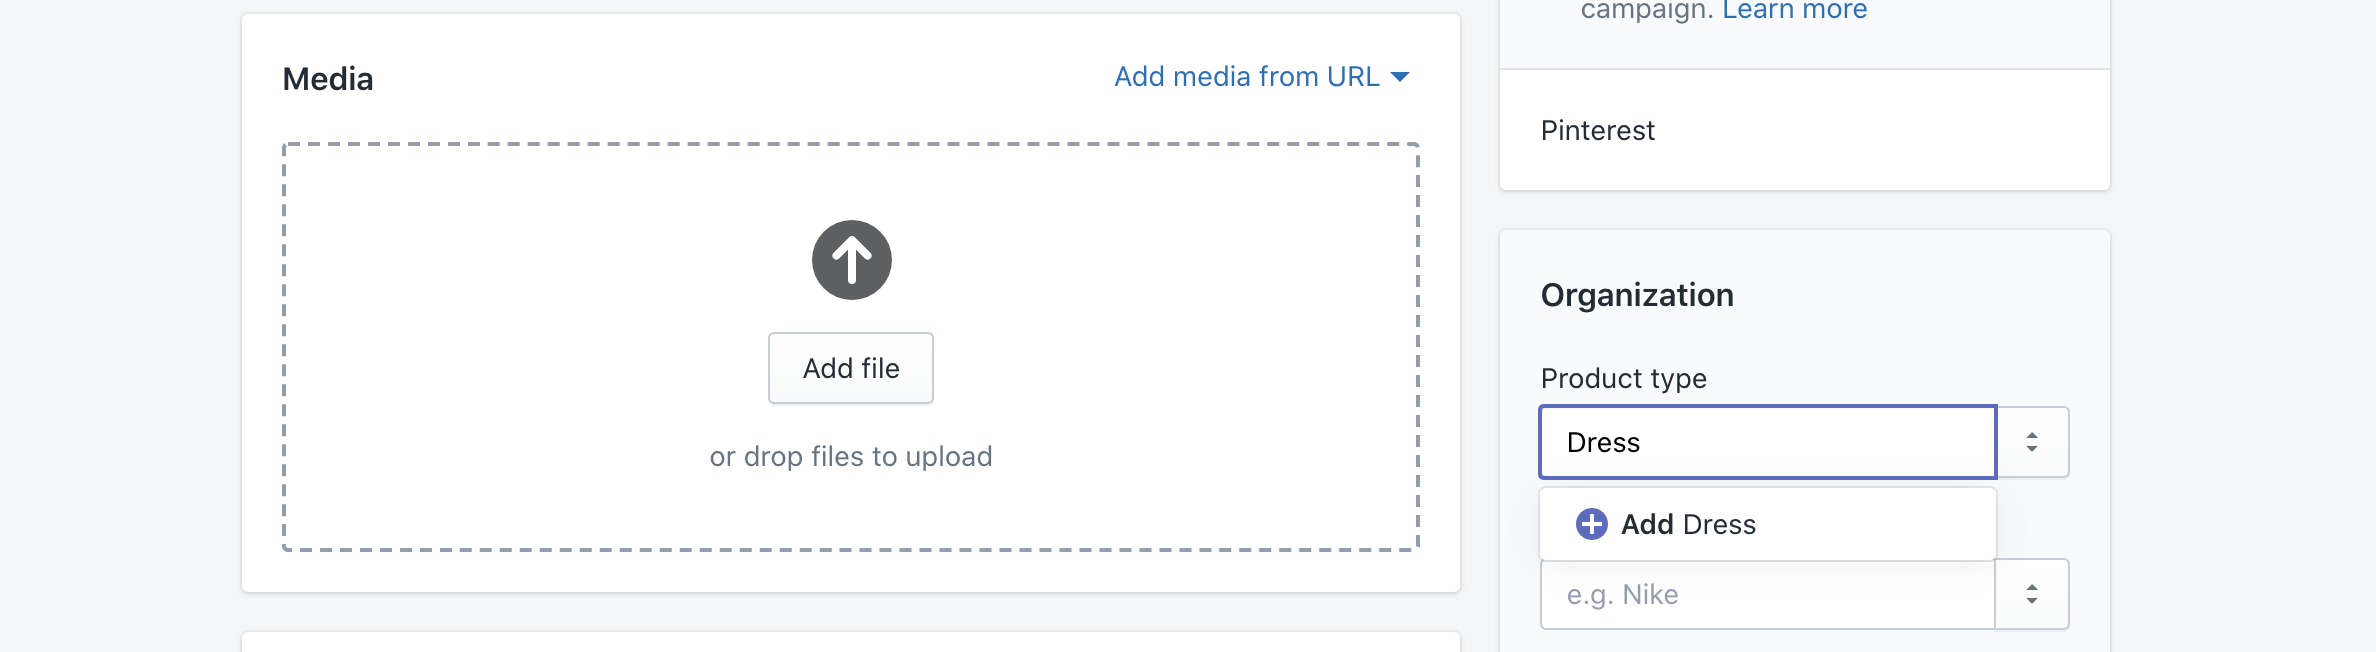
5. Within the product page creator, you can organize the the order of products— add a product type to define what the product is and a vendor to specify a brand. It can also be sorted alphabetically.
6. Add product tags to the drop down list and add further details to products. These tags can help you filter products or show only specific items based on the tags.
7. Next, add media to drag the products in. When adding these product images, arrange them in such a way that every product page's media is structured the same. Many brands usually add an in-context product image first and then add focused images of different angles of the product, and finally, an image of the product dimensions.
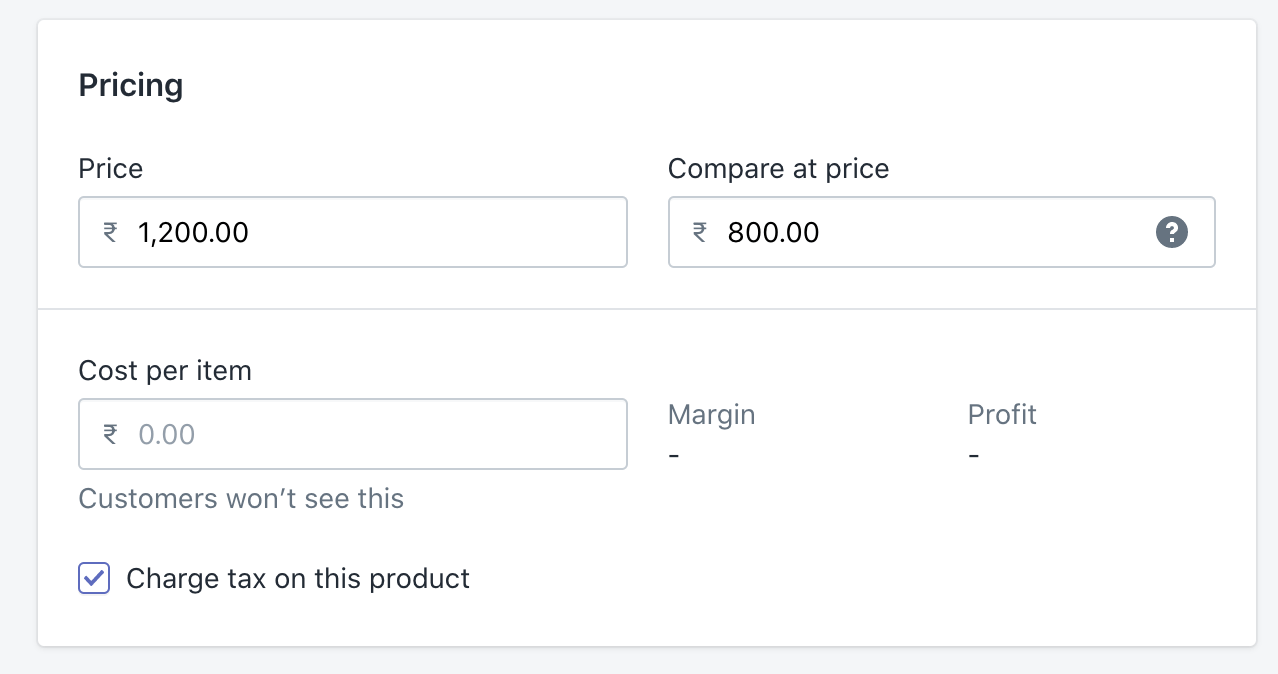
8. Price your product accordingly. You can add a comparison price to show shoppers what a bargain the product is actually at. You can choose to tax the product or keep it tax-free.
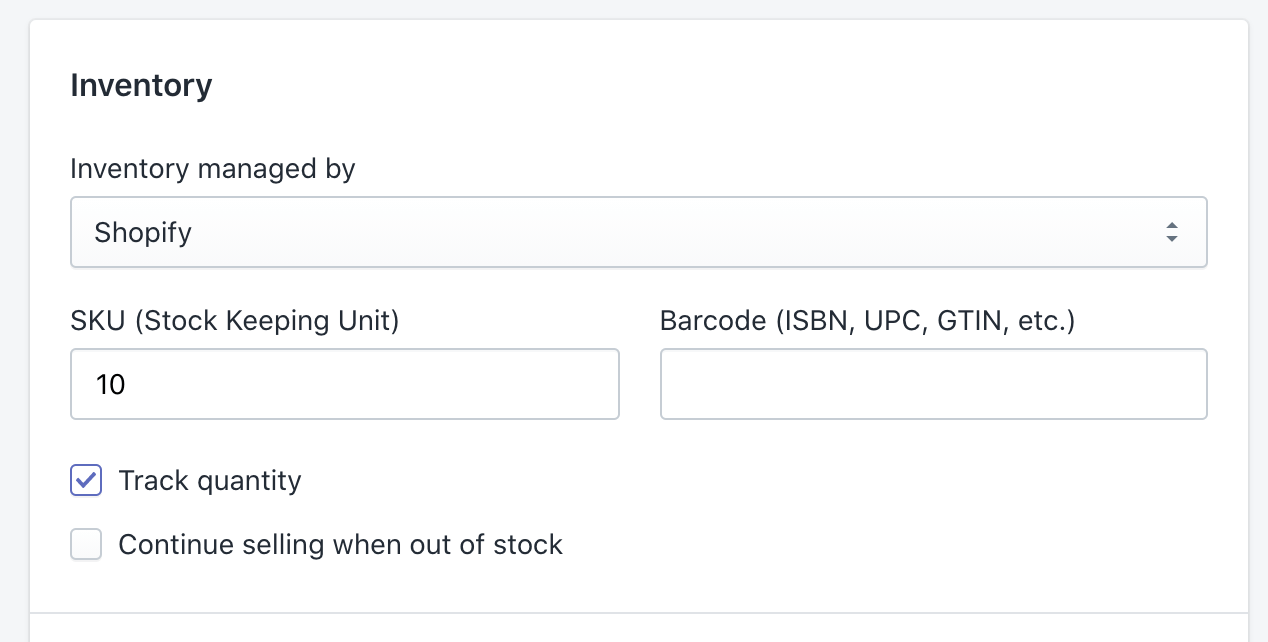
9. Next, you need to define inventory. Add weight, SKU you have, quantity, shipping rates and select the different locations from which you are selling.
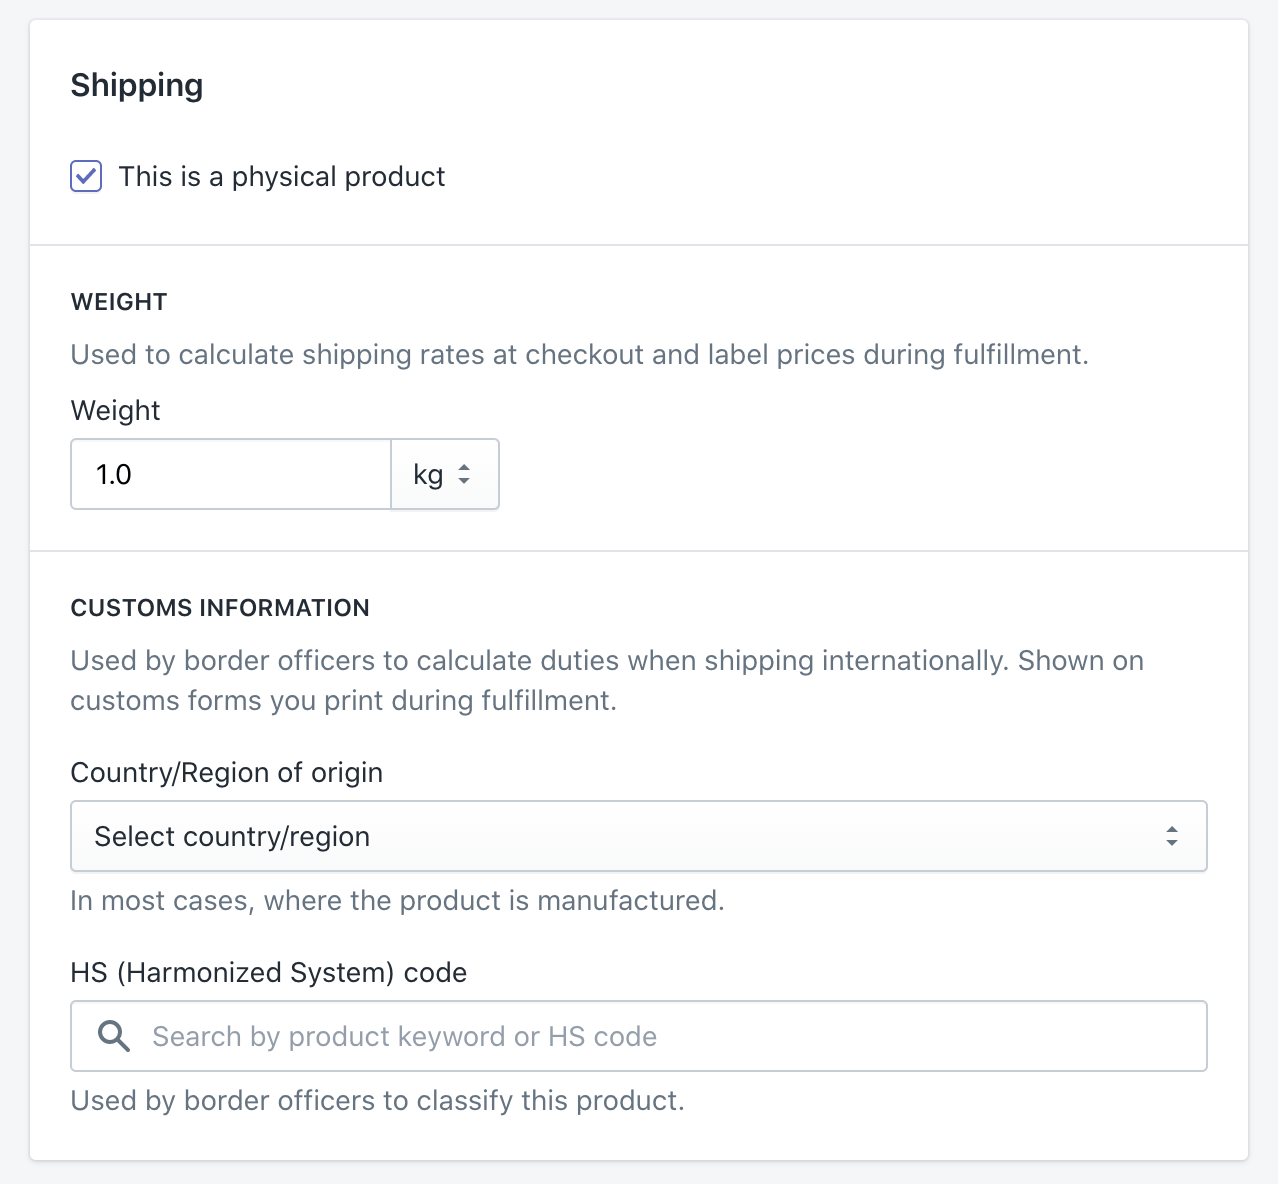
10. Include shipping rates of the product, add product weight and the country it is shipped from. Add weight based rates if applicable. This can help Shopify calculate the shipping costs.
11. If you have any variants for the product, you can click edit and add them here, including different sizes and colors.
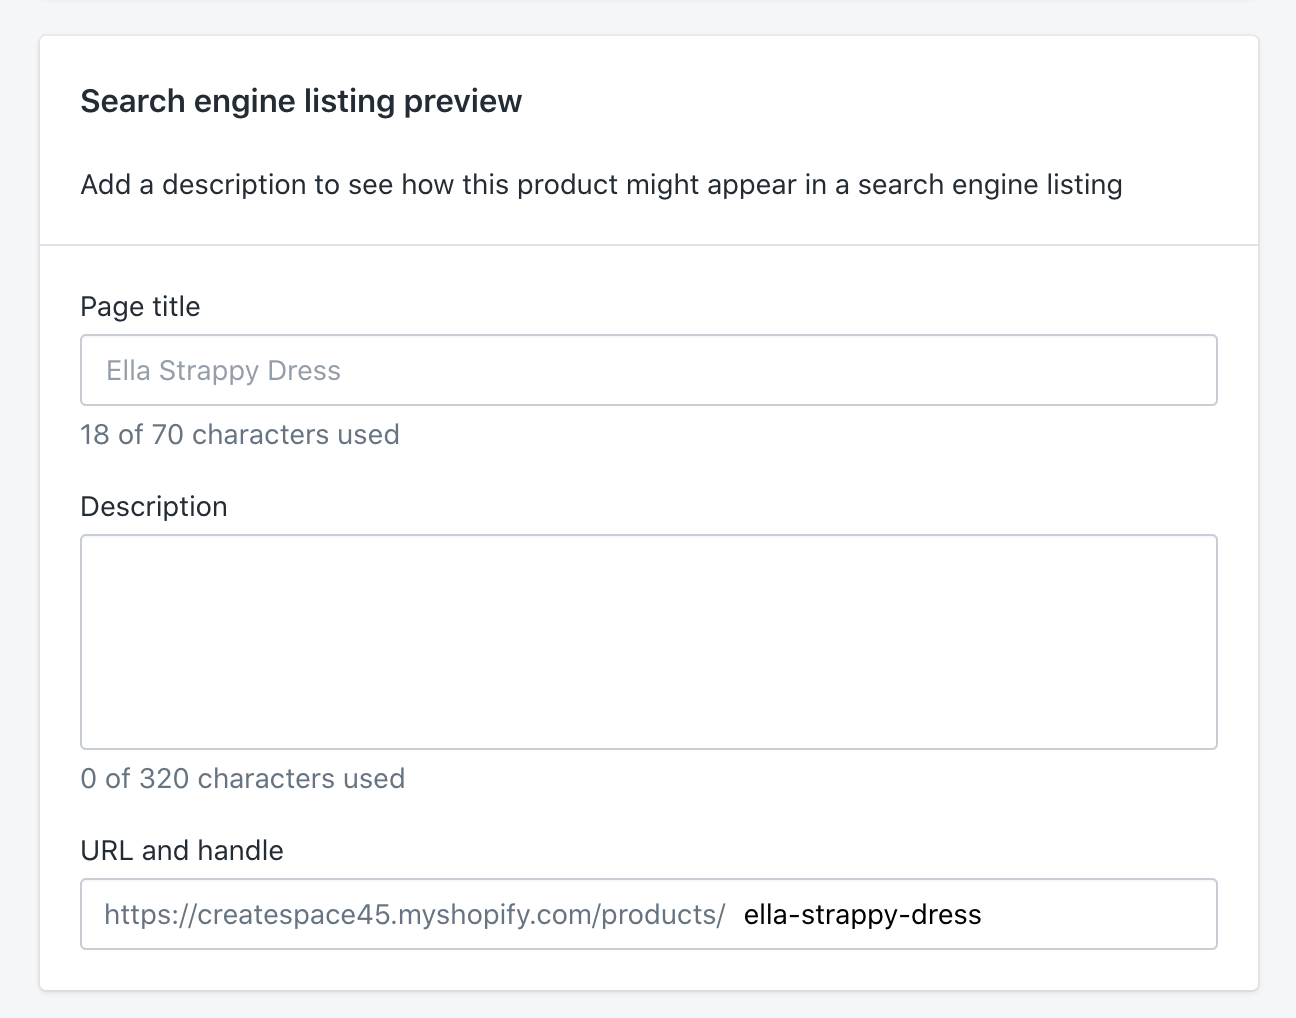
12. Edit the meta title, URL, and meta description to include the keyphrases used to describe the product. Keep your URL short and simple.
13. Once you've created one product page, ensure that you follow the same formatting for the other pages as well.
Elements and Tactics to Optimize Shopify Product Page
Now, just setting up a product page isn’t enough. You need to be mindful of the different elements that make your Shopify product page great and focus on optimizing them. Here are 12 elements along with best practices to set up a high-converting Shopify product page:
1. Use product badges to grab shopper attention
Shoppers are most commonly introduced to your products through your product catalog. But, many shoppers scroll through the catalog without even taking a closer look at specific products. This is where product badges help.
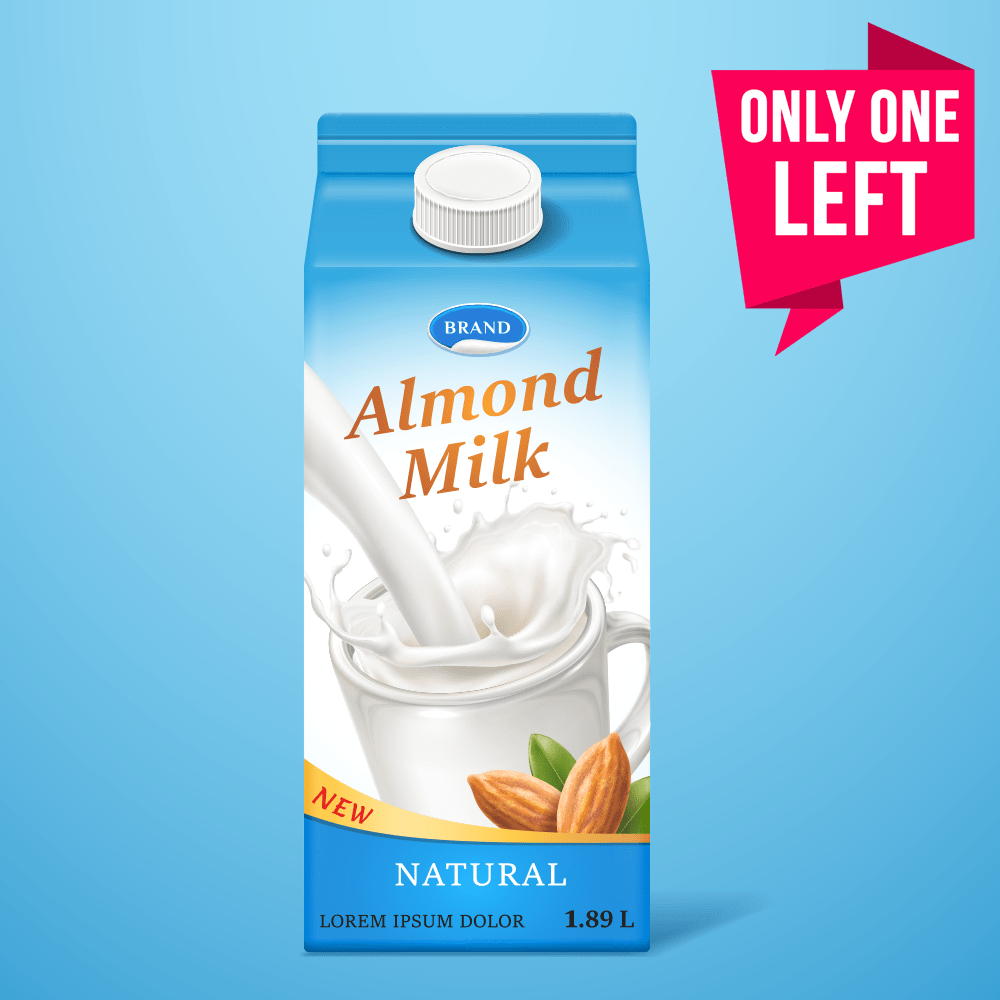
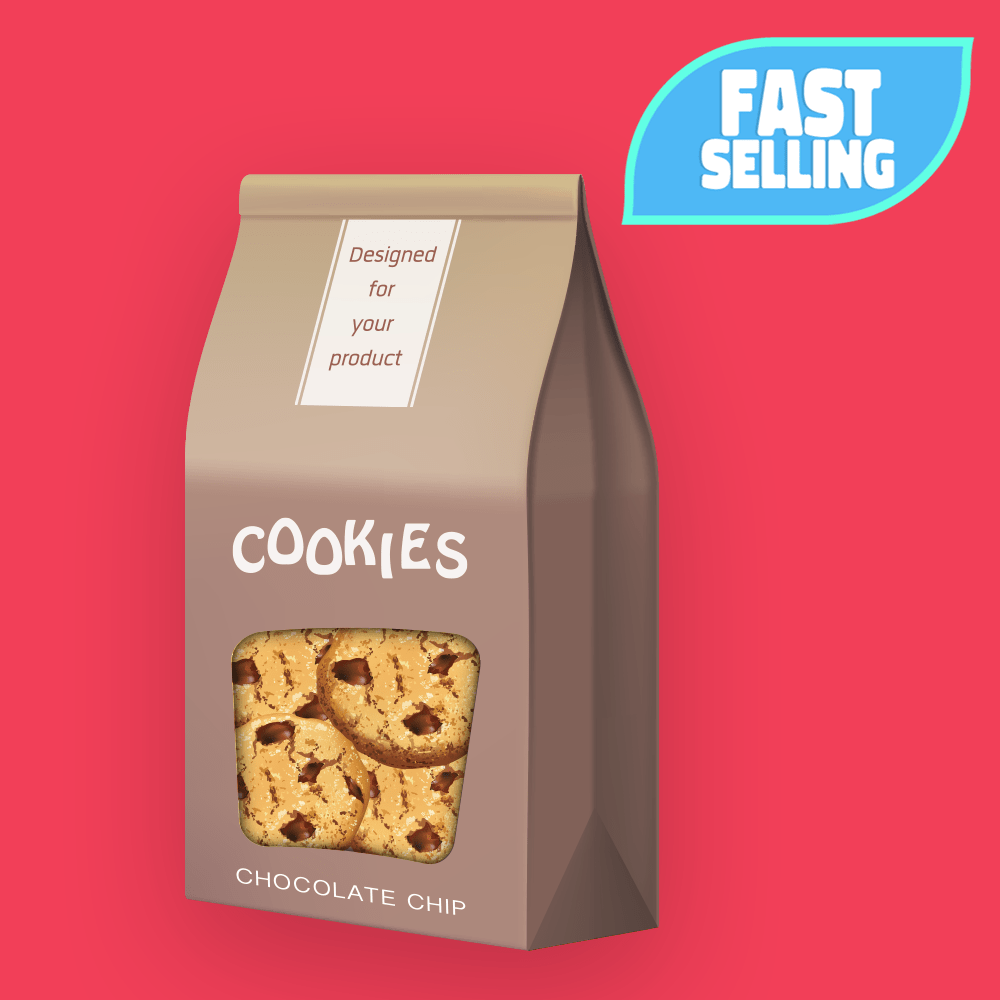
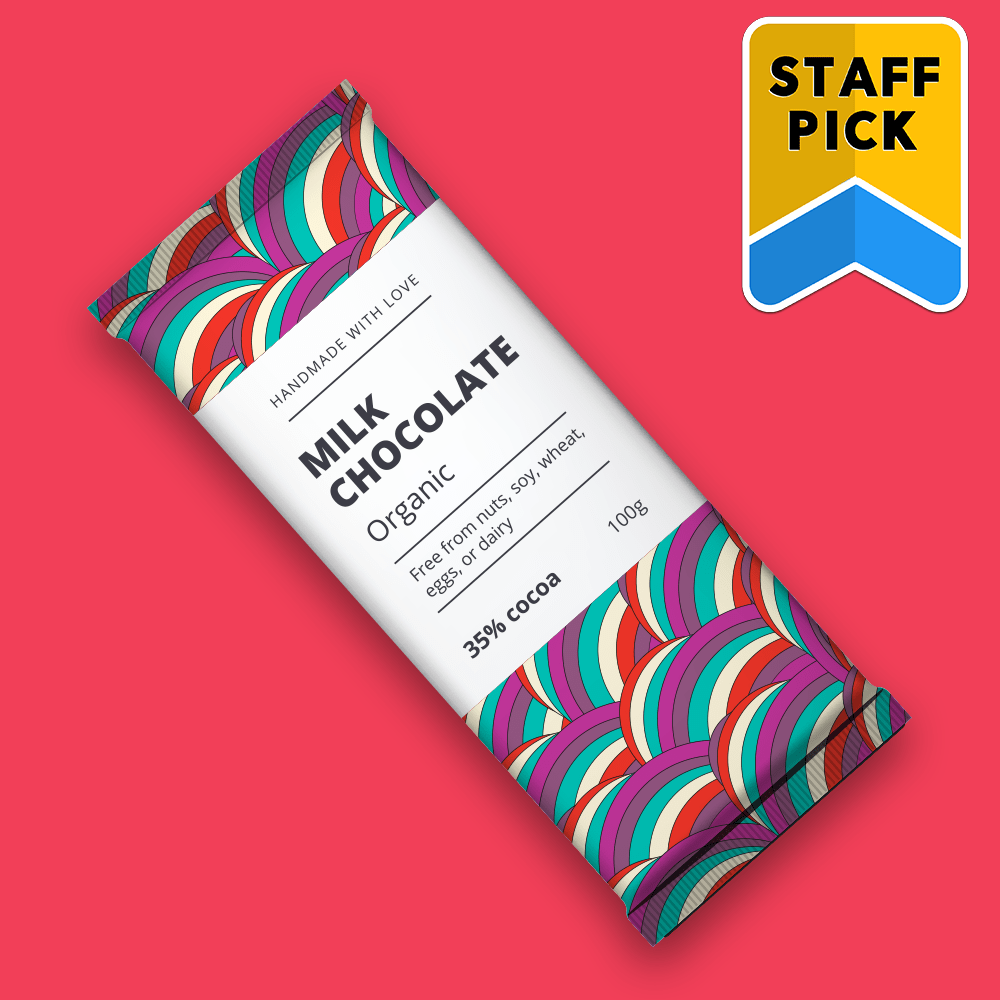
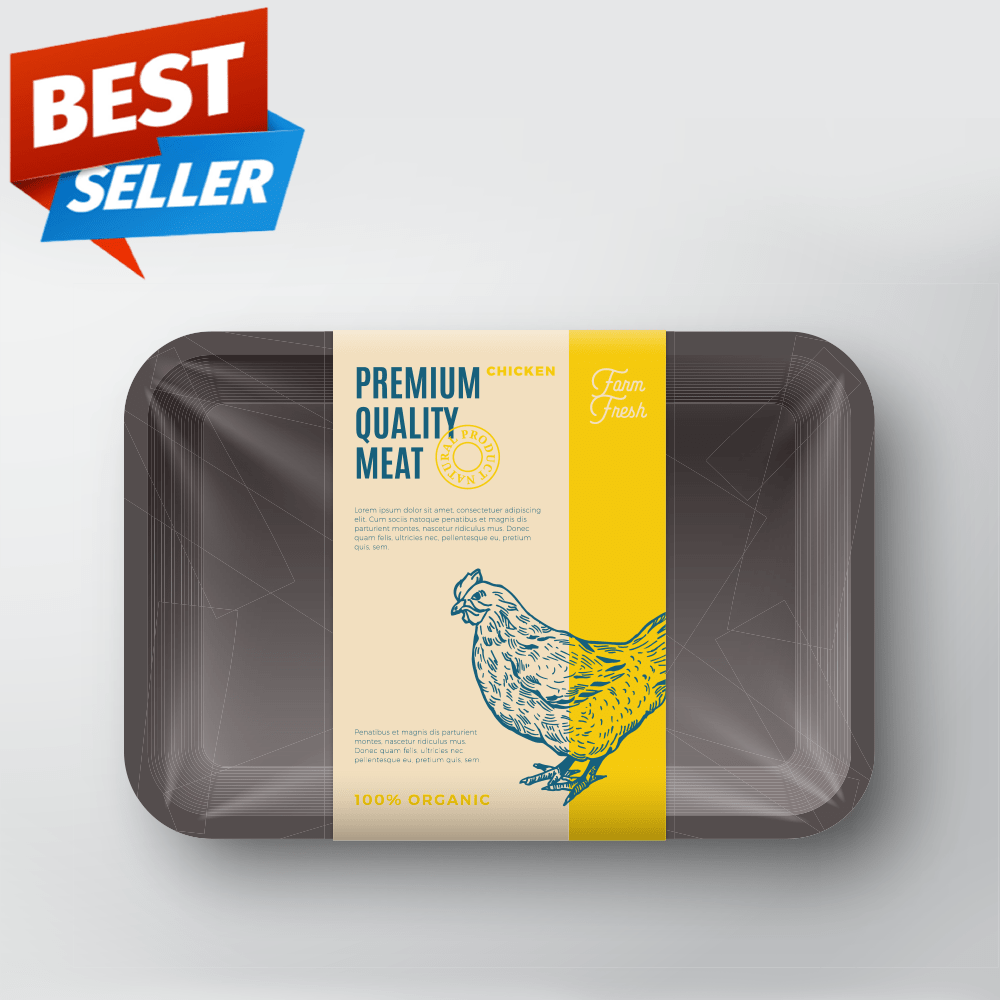
Add product badges to your product images to nudge shoppers to click on specific products and build curiosity over them. These product badges can help you make shoppers stop scrolling and pay more attention.
When adding product badges, keep these best practices in mind:
- Add product badges to only a few products from your catalog. When picking these products, you can choose them based on their popularity, low demand, or even cash in on its trending sales.
- Customize your product badges to fit your Shopify store’s design. On the other hand, if you have a minimal theme, you can even make it stand out with colors like red to build urgency.
- Test different types of product badges to understand what works for you.
Here are 5 product labels you can start using now:
- Only X Left: Use this product badge to let shoppers know that only a limited amount of products are left.
2. Fast Selling: Indicate the popularity of a product by adding the ‘Fast-Selling’ badge.
3. Staff Picks: Let shoppers know which items are well-loved by your team.
4. Award-Winning: Build credibility by adding a product badge that shows how well-received your product is.

5. Bestseller: Let shoppers know what’s special in your store by adding the ‘Bestseller’ badge to top-selling products.
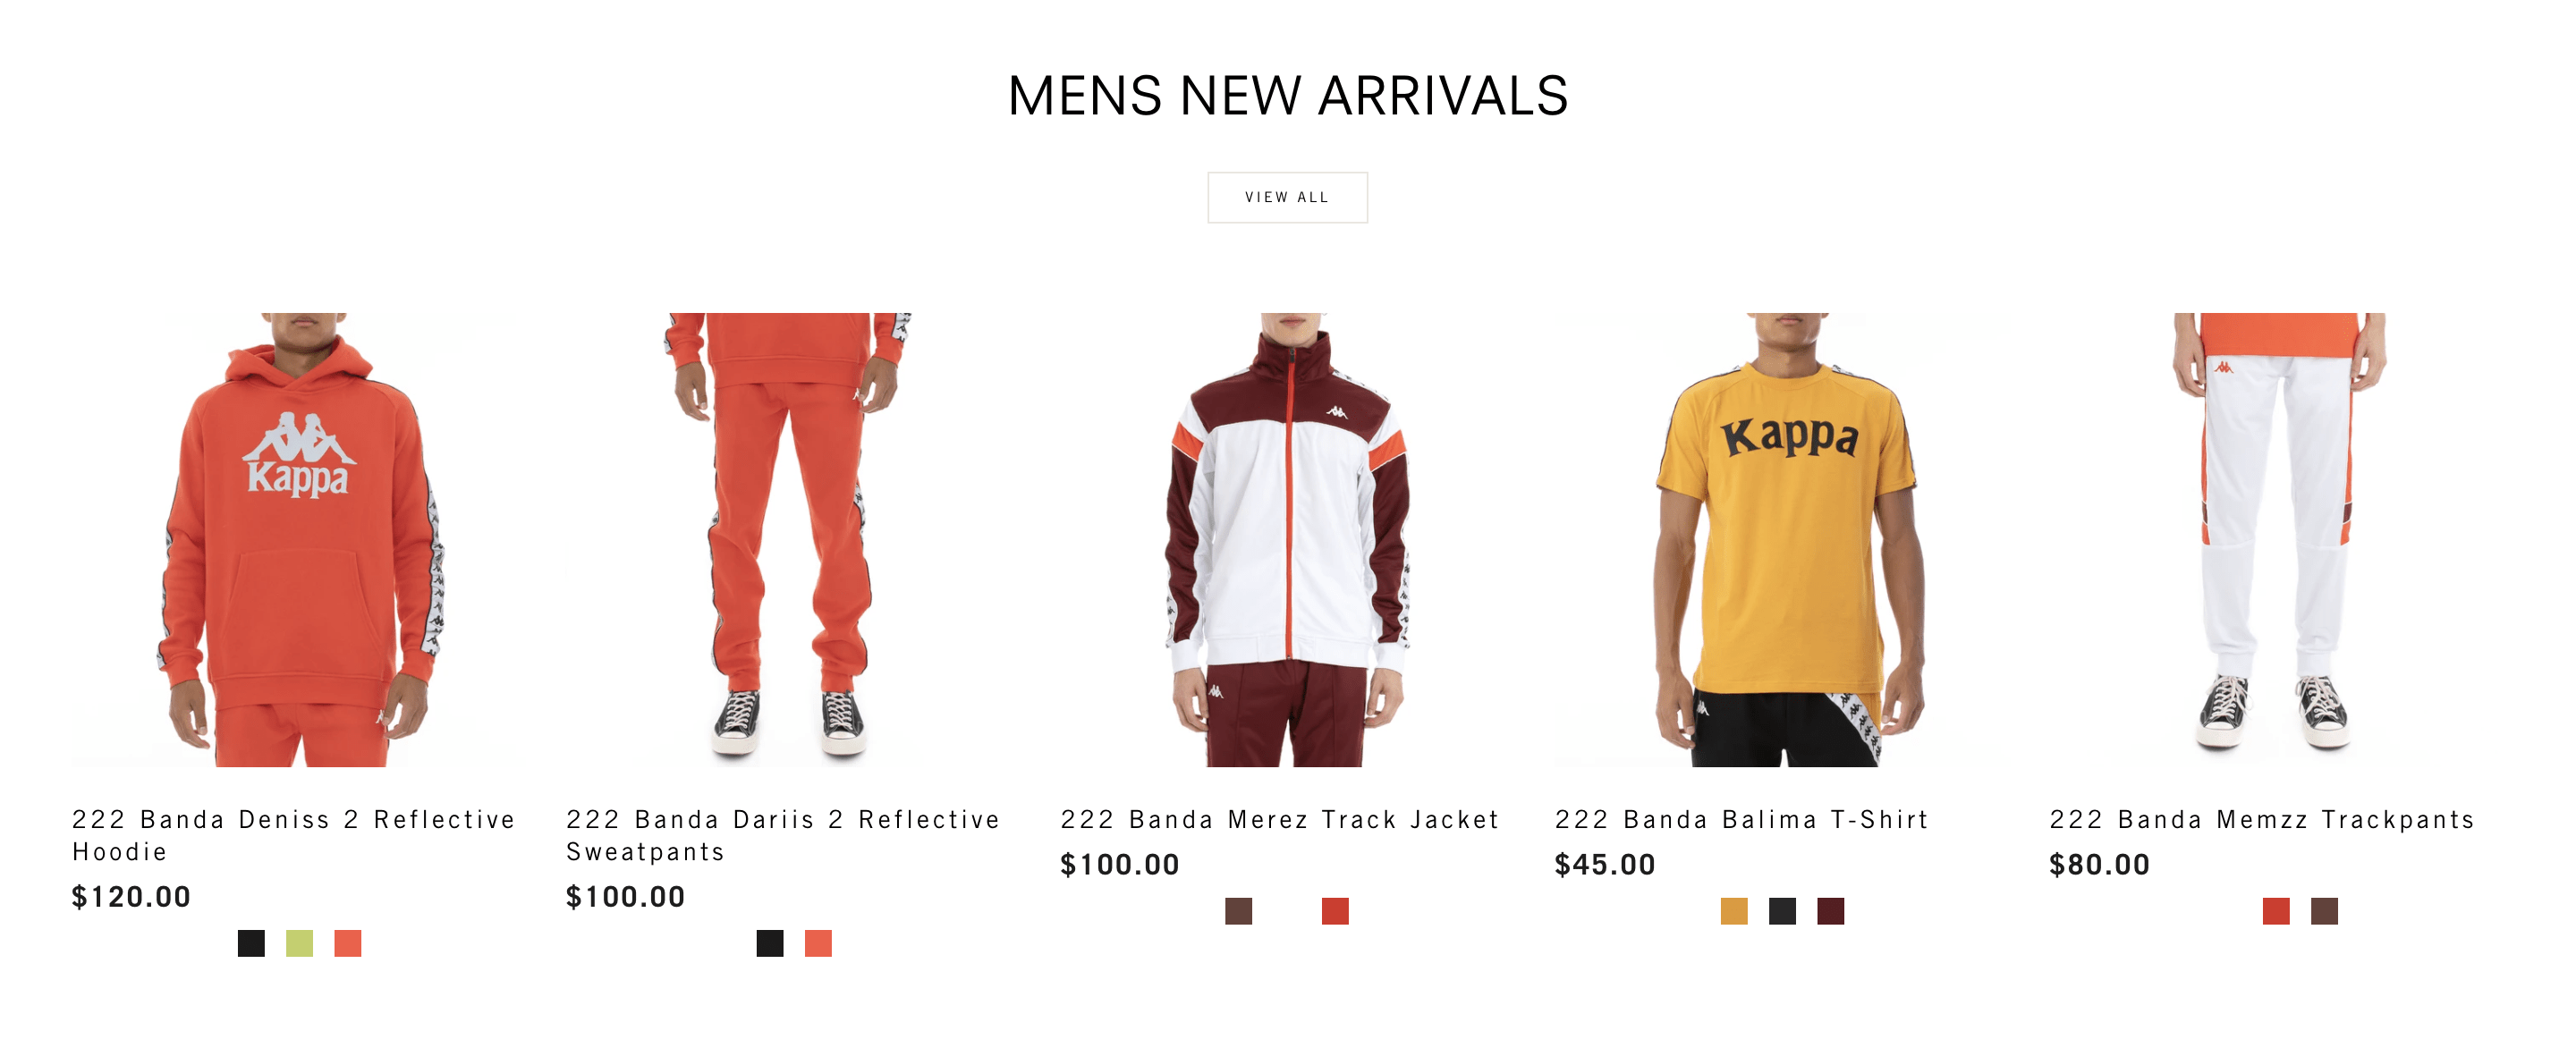
2. Add clear and appealing product images
Shoppers rely on the product image to understand the product. With high resolution and well-shot product images, you can increase your chances of capturing more sales.
Here are some tips when capturing your product images:
- Keep the background consistent across all product images.
- Shoot high-resolution images. Discard any images that are blurry.
- Take pictures from multiple angles to give shoppers a complete idea of the product.
- Add an in-context image to show how the product would look when in use.
- Add an image of the size of the product in relation to a human.
3. Add product videos for an enhanced experience
While it isn’t always feasible, merchants need to consider investing in product videos if they have a budget. Some of the best product pages include a teaser video on how to use the product. A product video can be as simple as a showcase of the features of the product or a product how-to. With a video, you can increase engagement time on your product page and make the experience on your Shopify store more interactive.
Here are some tips to help you easily add a fun product video that is sure to make shoppers spend more time on your store:
- Use apps like Vimeo Create or Canva to stitch your video together.
- Before shooting your footage, understand what you want your video to accomplish. Do you want to build aspiration, show how the product works, or impress shoppers with how versatile and useful the item is? Create your footage accordingly.
- Use editing filters to polish your video.
- Ensure that the video is short and sweet so that it caters to the short attention spans that shoppers usually have.
4. Display reviews to build credibility
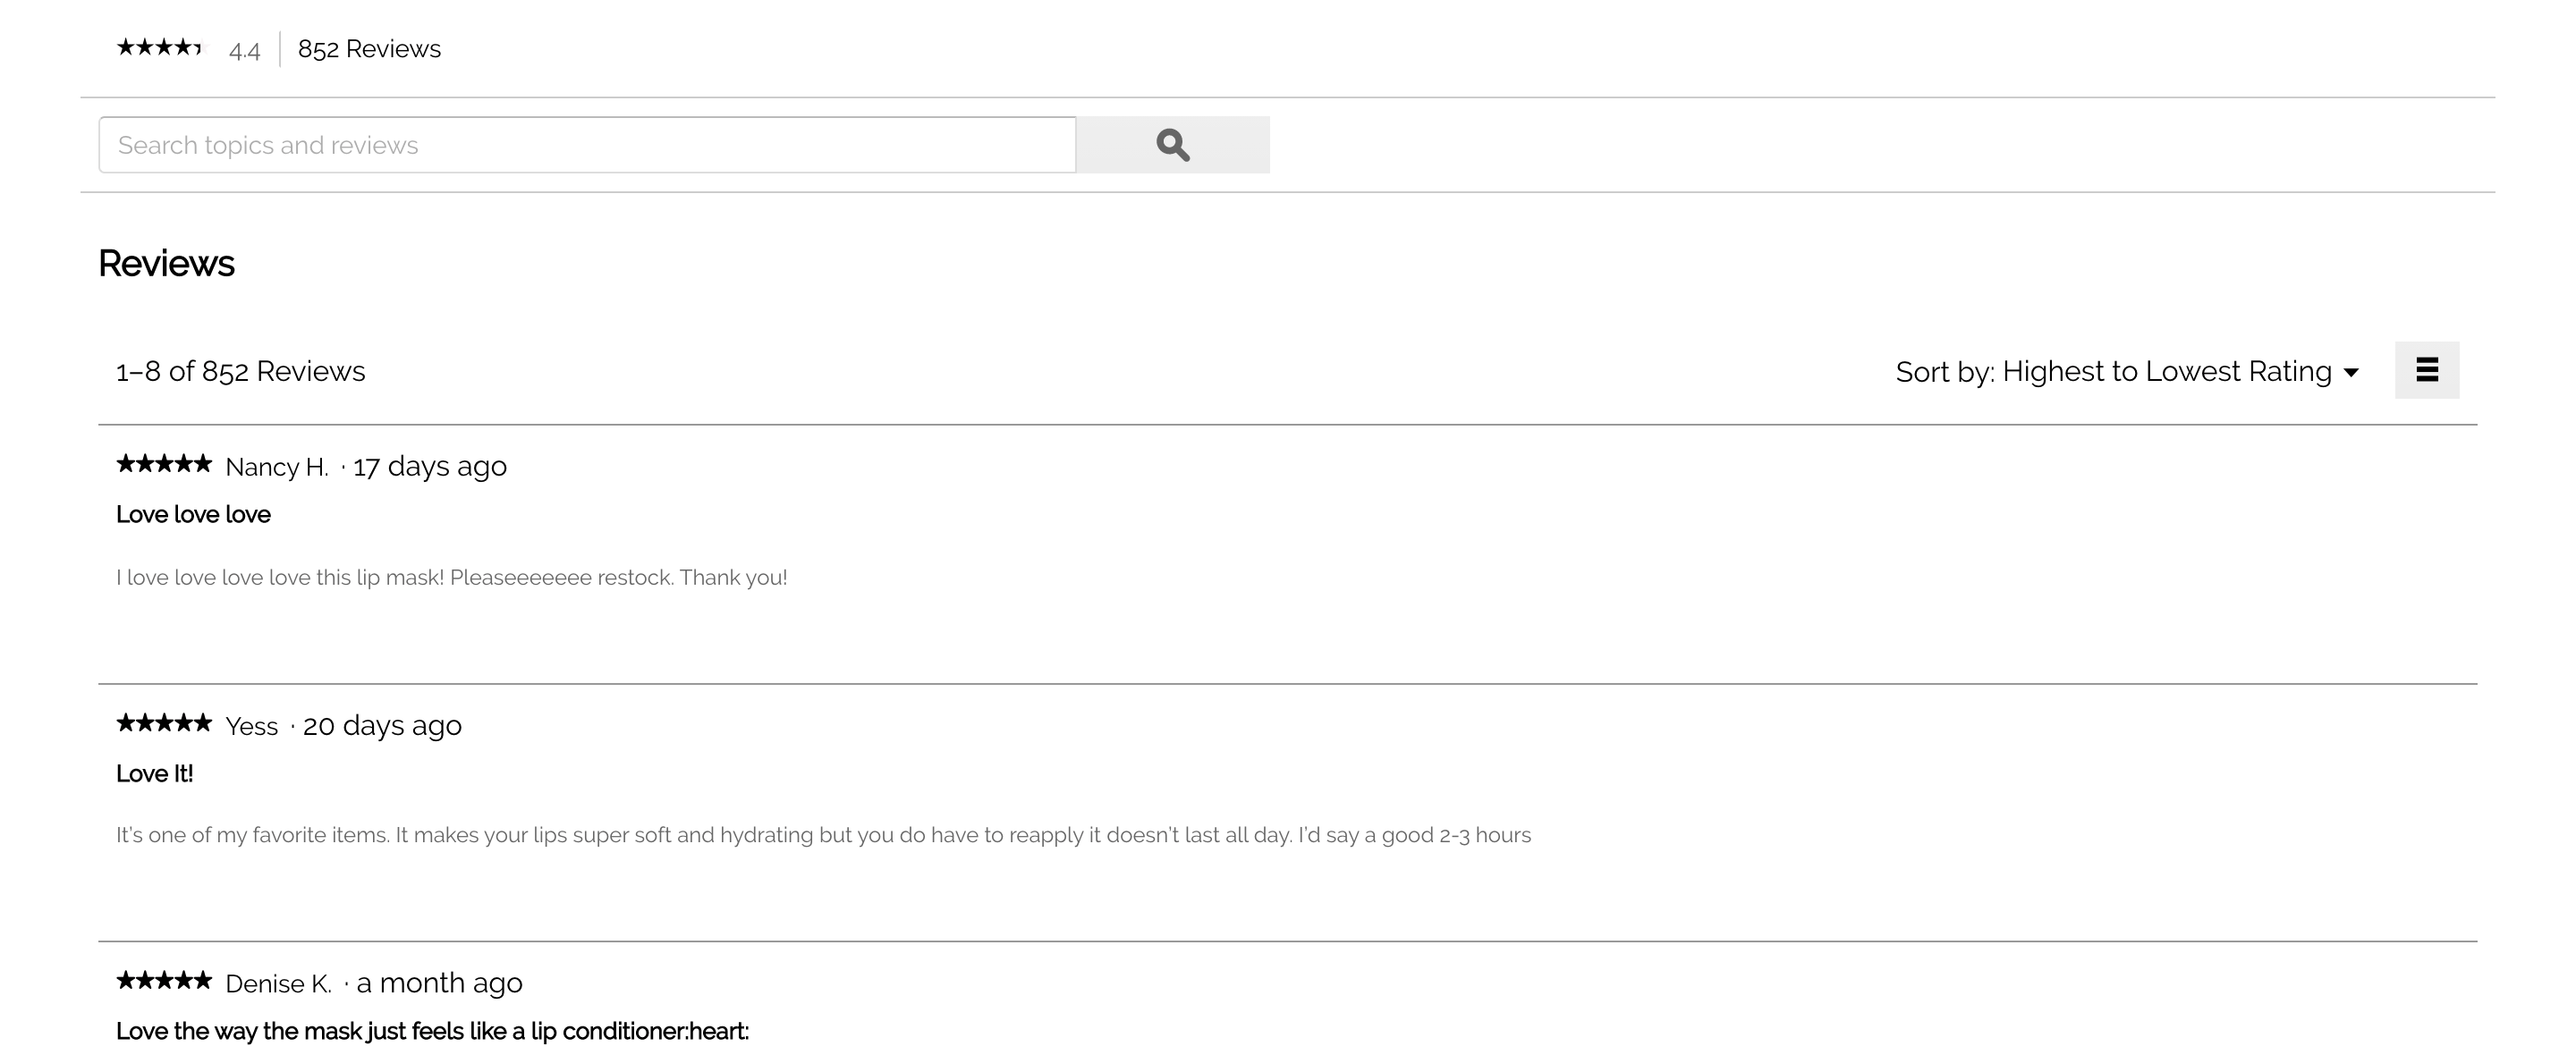
You need real humans vouching for your products. Reviews on product pages can help you show some form of proof that your product is credible and positively received by other shoppers. Use review apps like Photo Reviews and Testimonials to send review requests, collect reviews, including photo reviews, and display them on your Shopify store in an attractive manner.
Photo reviews, especially, help shoppers get an honest look into how a product would work so that they can confidently proceed to shop the item. With reviews, you can create credibility on your Shopify store and make new store visitors trust you from the get-go.
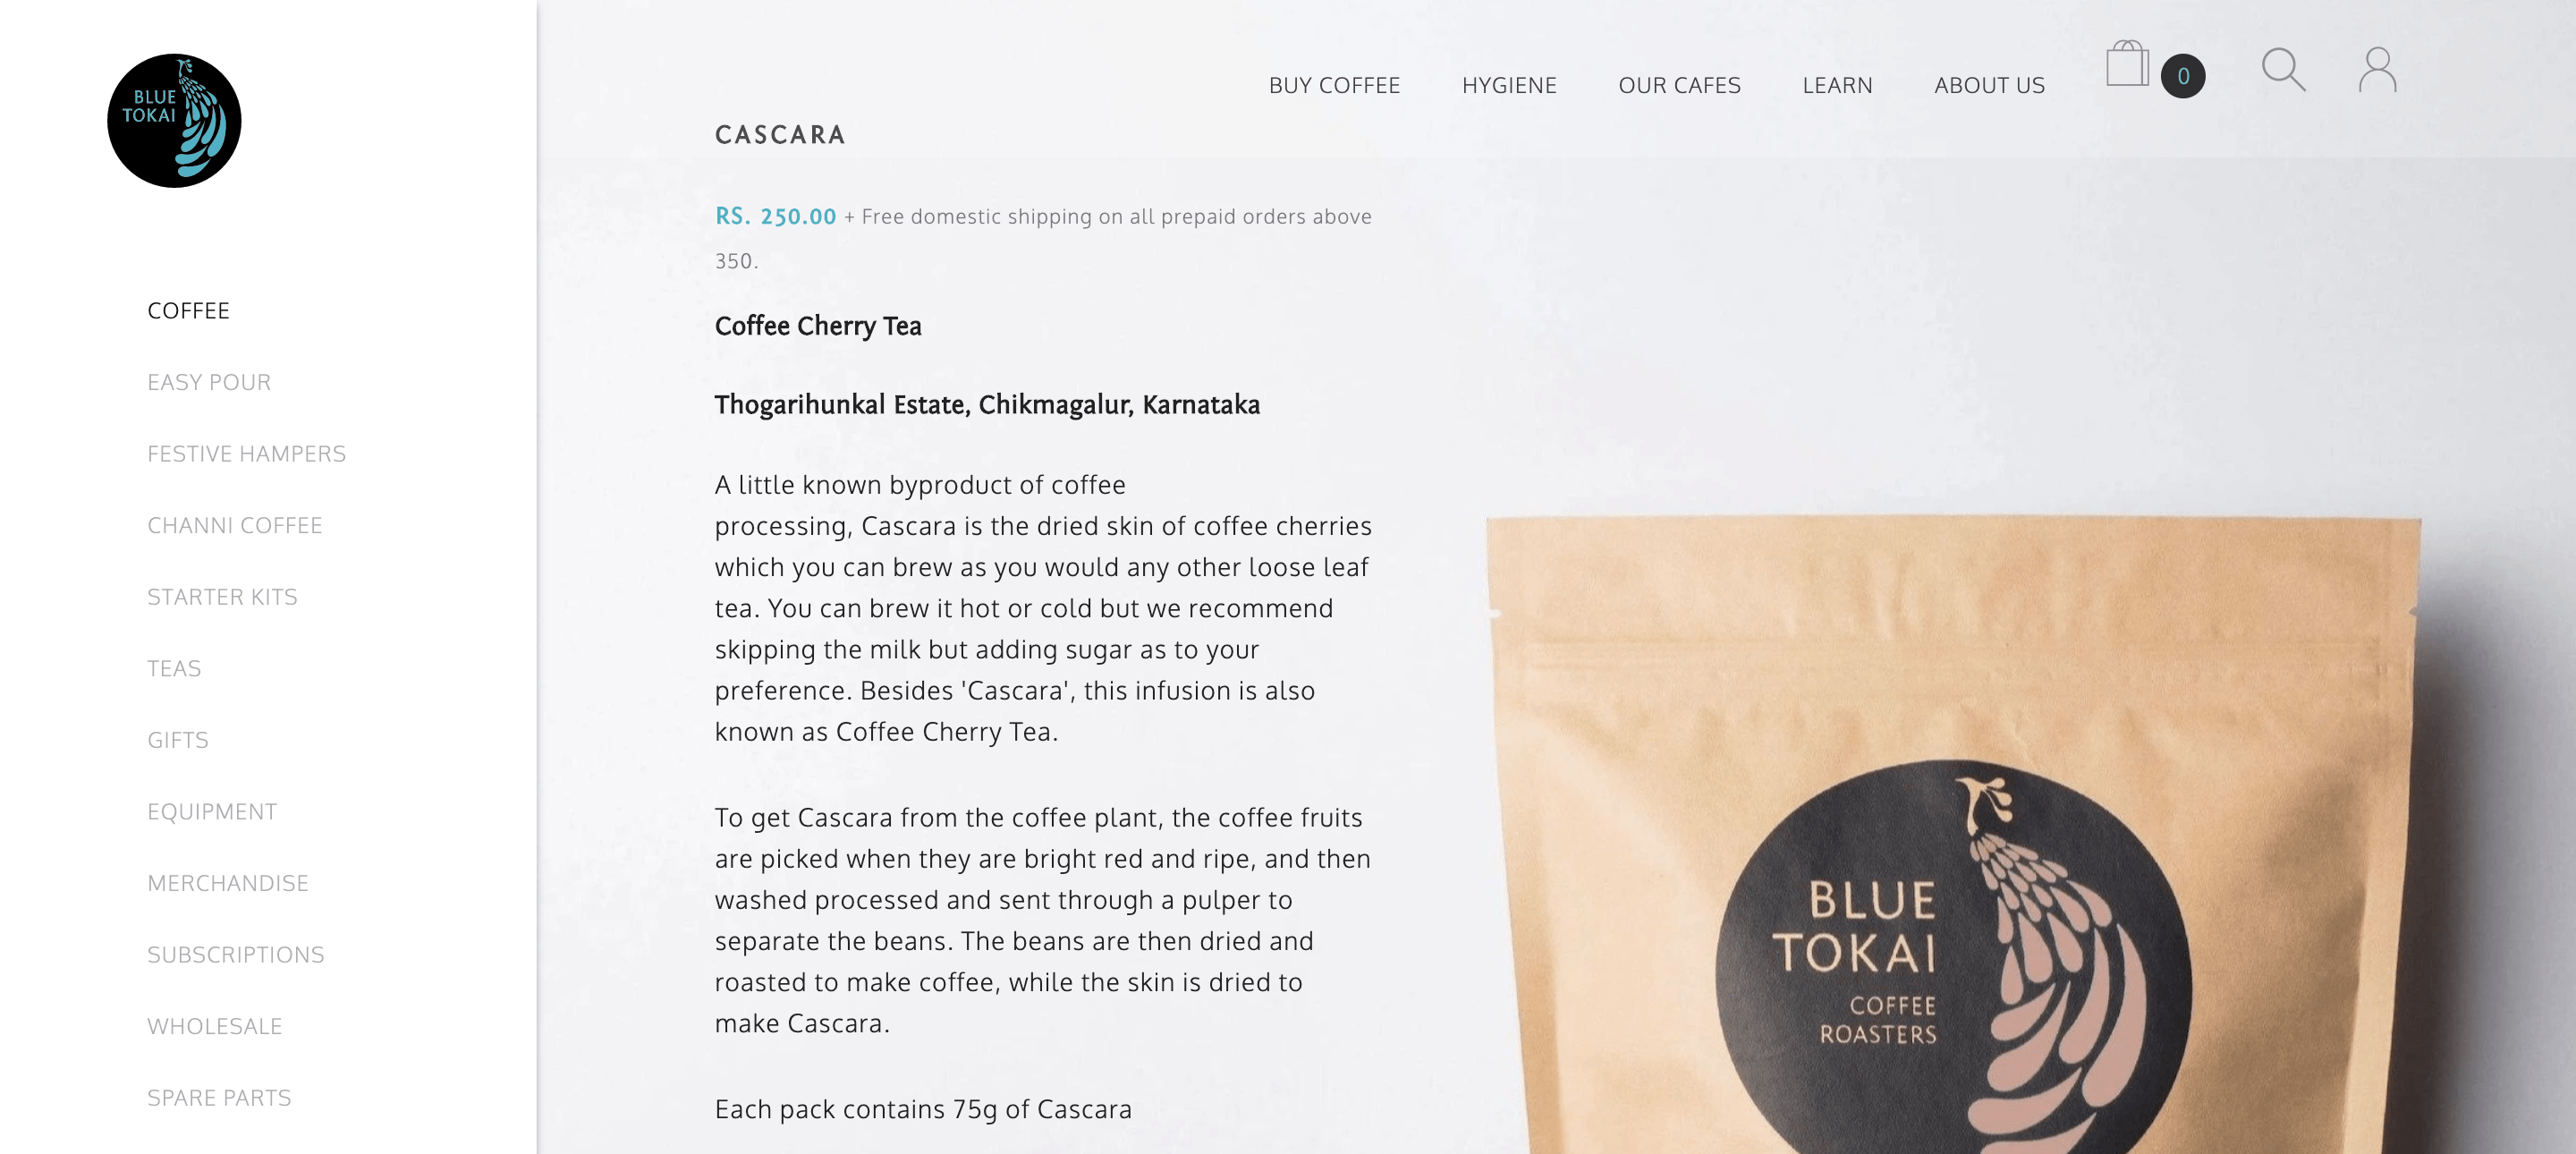
5. Build curiosity with a thoughtful description
The most successful Shopify stores have been able to grab shopper attention with a compelling product description. Add a product description that narrates a story about your product and lets them know what makes your product special.
Besides adding technical details, your description should hold the shopper’s attention and make them curious to learn more about the product.
Here are some ways that the best product pages craft their descriptions:
- Build a story around why the product is useful.
- Pinpoint a problem that the product solves.
- Use positive words to describe the outcome shoppers would have when using the product.
- Visualize a fantasy that the shopper would achieve through the product.
6. Display product recommendations
Oftentimes, shoppers end up dropping off once they reach the end of a product page. You can avoid this by adding product recommendations on your product pages to keep shoppers engaged and get them to continue viewing other items on your store.
Wiser is a Shopify app built to display product recommendations on different parts of your Shopify store. You can use the app to display generic recommendations like ‘Bestsellers’ and ‘Trending Products’ or even display personalized recommendations like ‘Recently Viewed Items’ and ‘Inspired By Your Browsing History’.
Test these different recommendation widgets on your product page to understand which one works best for you. Amazon has 2 to 3 recommendation widgets on its product pages to maximize engagement.
7. Allow wishlisting
Shoppers love to save items they are interested in and come back to them later. Many shoppers use wishlists to shortlist items they liked and later compare these items to find the right option for them.
This is why every Shopify store needs to allow shoppers to wishlist items. Apps like Flits lets merchants set up wishlisting. Shoppers can just click on the heart icon on the product to add it to their wishlist. What’s more, this feature ensures that your visitors convert into registered shoppers, helping you capture these visitors before they drop off.
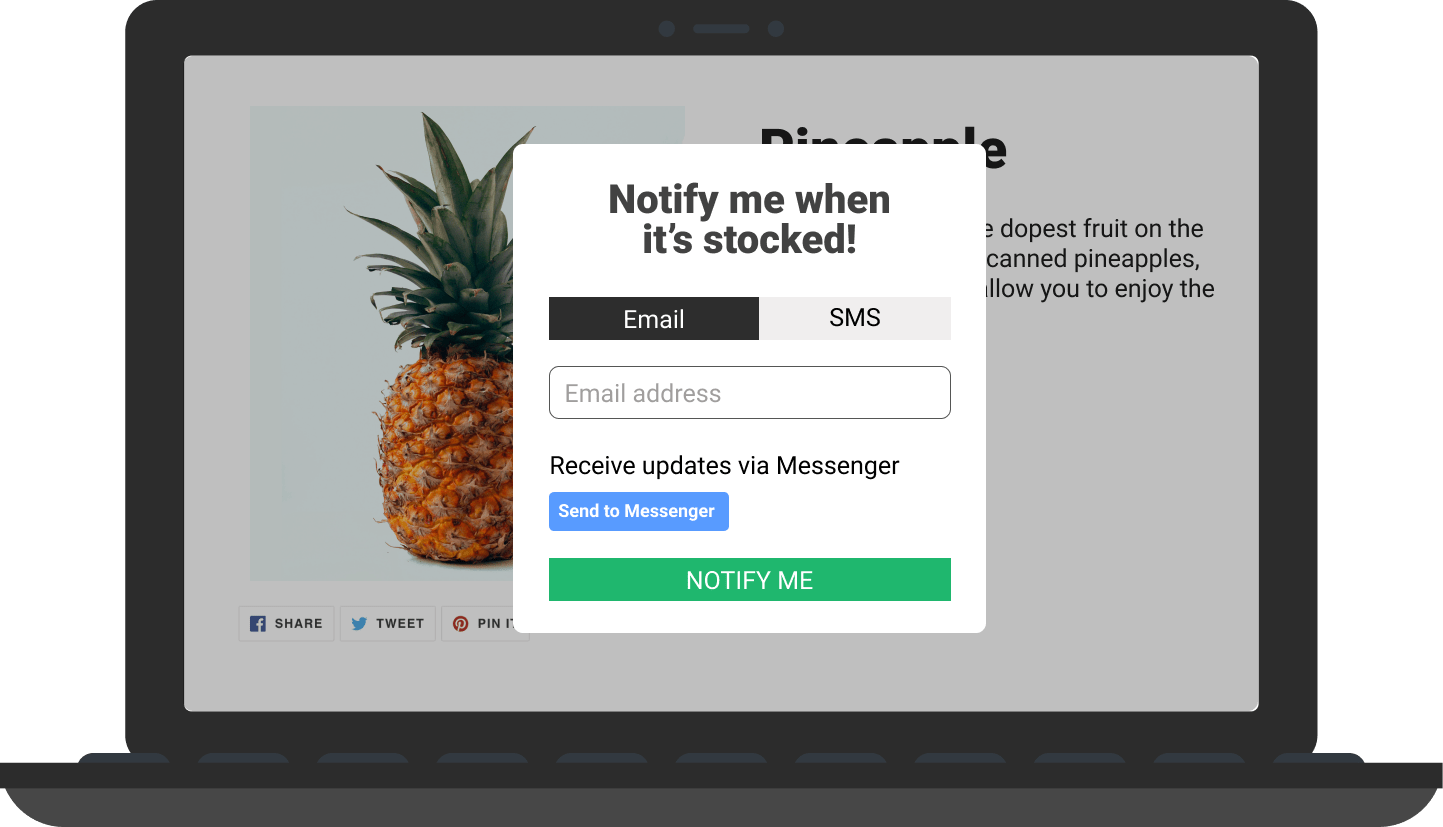
8. Provide back-in-stock subscription to avoid losing sales during stockouts
If you find yourself running out of stock often, it’s best to set up alternatives that capture interested shoppers on product pages where stocks are low. With a back-in-stock alert set up, these shoppers will receive a message as soon as the item is back in stock. This way, you can bring back shoppers and ensure you don’t lose sales to stockouts.
You can set up these automated alerts with the Back in Stock - Restock Alerts app. When setting it up, keep these tips in mind:
- Set up your sign-up form and customize it to match your Shopify store’s voice and design.
- Set up multiple communication channels to give shoppers more options to pick from.
- Customize your in-stock message to reflect your brand personality and include any ongoing discounts you have.
9. Optimize for SEO
When setting up your product page, you need to optimize it with relevant keywords to rank higher on search engines. To optimize your product pages for SEO, you just need to craft your content for these product pages with the right keywords in mind.
Here’s how you can make your Shopify product pages more SEO friendly:
- When editing your meta title, description, and URL, add common keywords associated with your product. This would include product type like ‘shirts for work’.
- When writing your description, include FAQs about the product as well as any how-to guides. Understand the kind of questions shoppers are asking on Google and use them within your product page.
- Add ALT tags to your images and media files to make them rank on search.
- Use apps like Plug in SEO to identify SEO issues instantly and optimize your Shopify store’s search rankings.
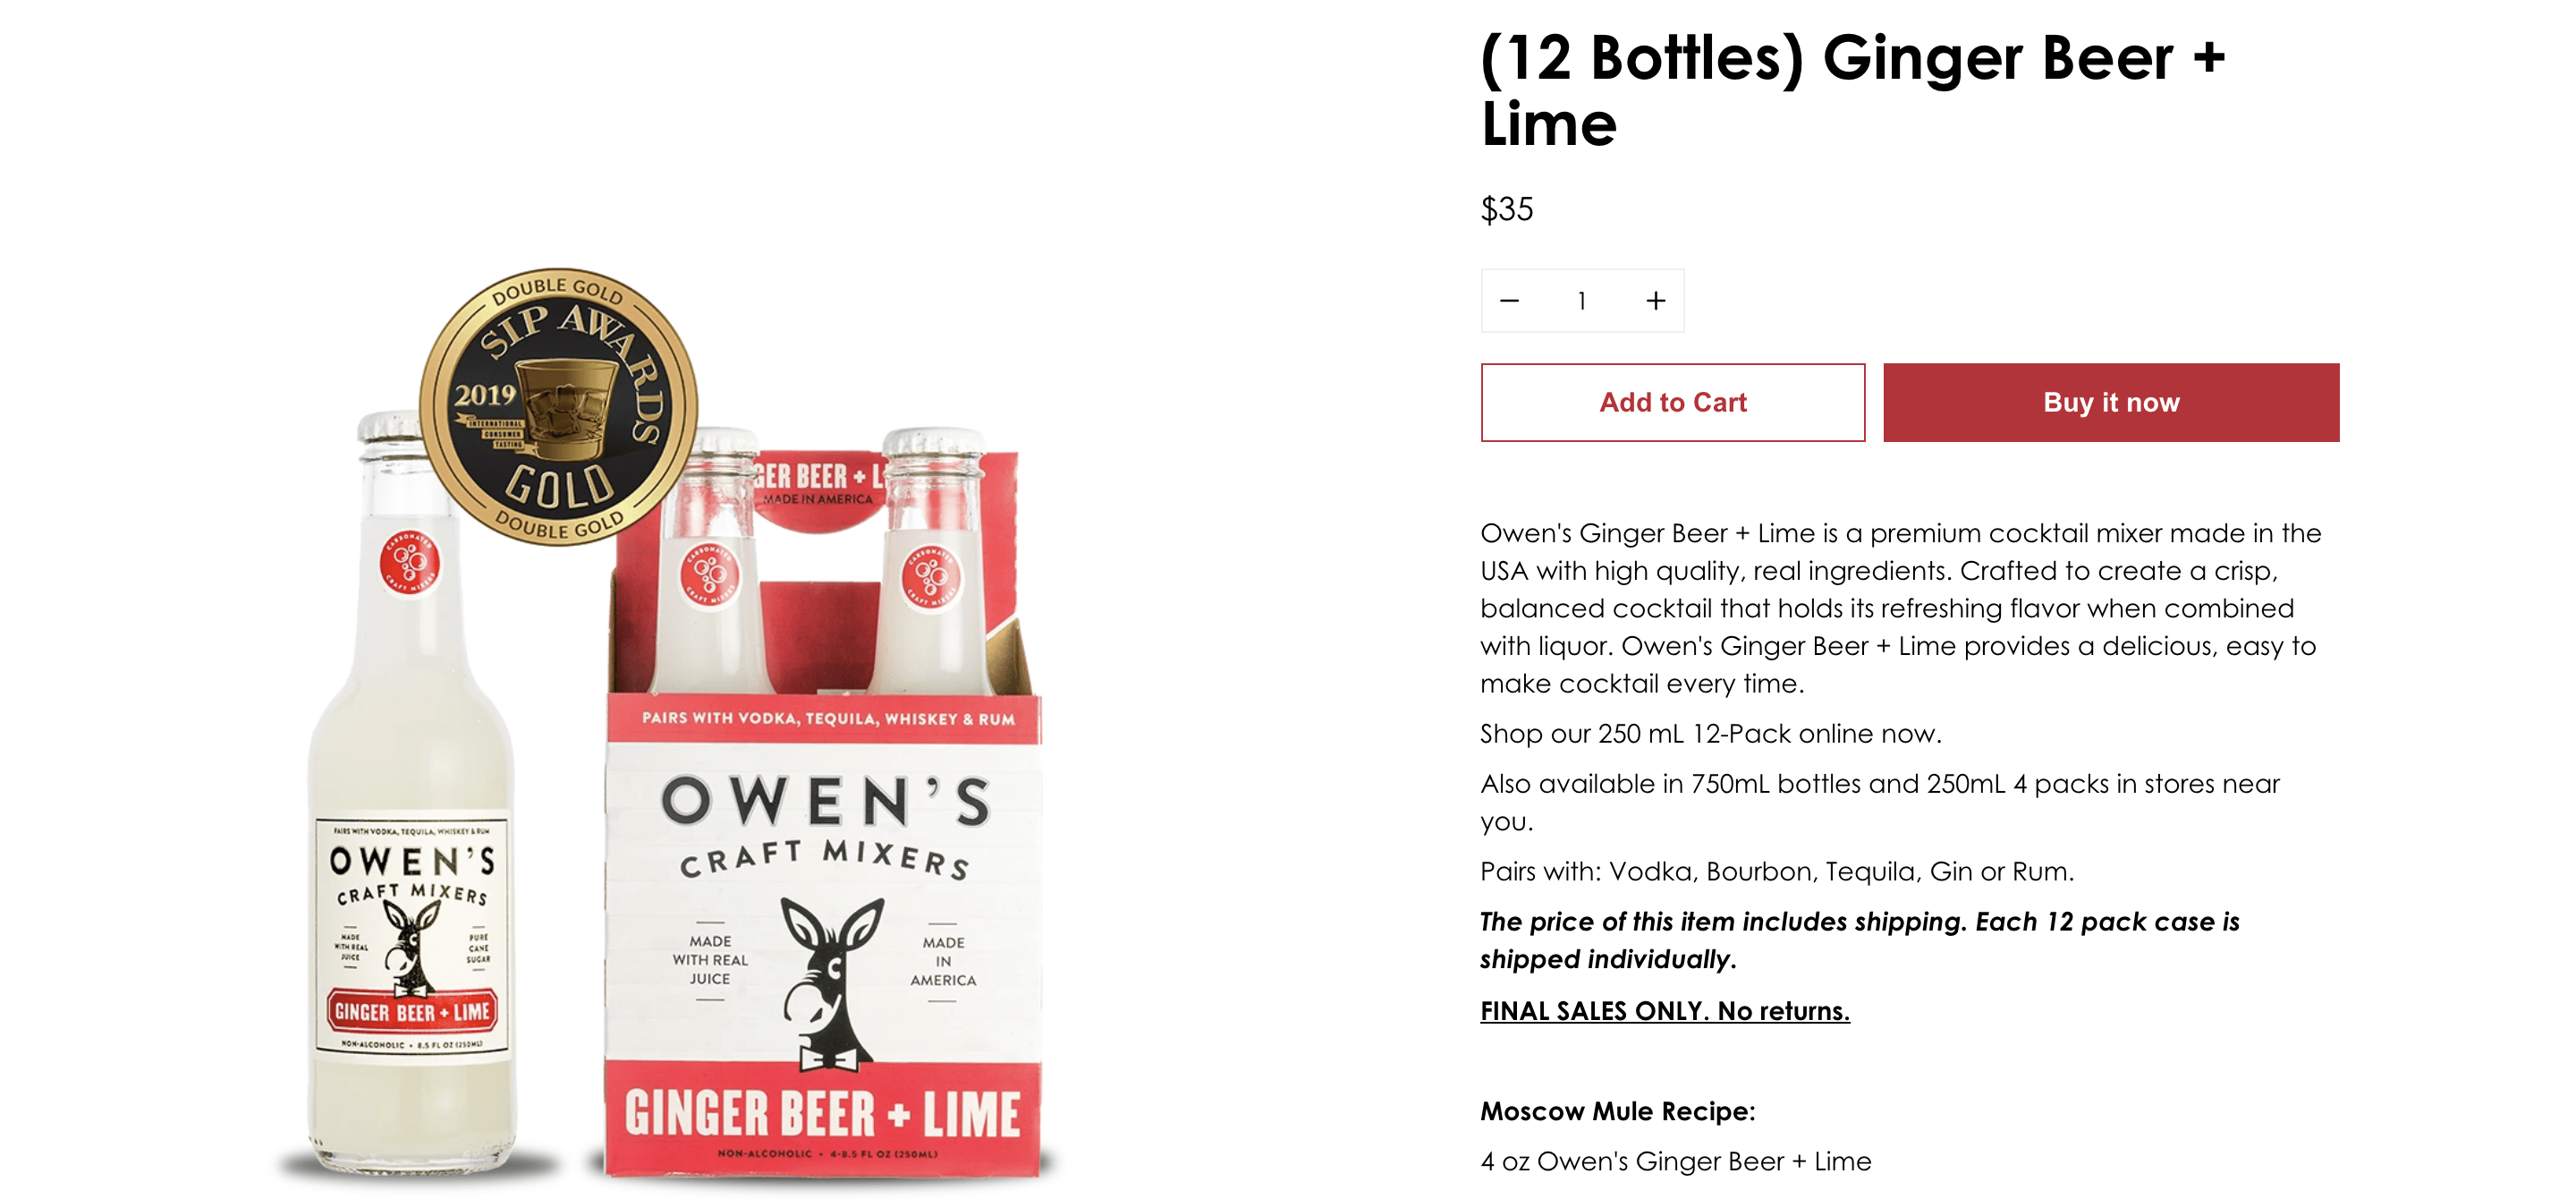
10. Add a CTA button that stands out
A CTA button on the product page helps to guide the shopper to make a purchase. Here are some tips when setting up your CTA button:
- Ensure that the button stands out, either with your brand color or with striking positive colors like green or blue.
- Make your CTA sound more human with a copy like ‘Add to Bag’. CTAs commonly have text like ‘Buy Now’, which sounds very salesy and not as friendly.
- Keep your CTA button above the fold so that the shopper doesn’t miss it.
- Use apps like Ultimate Sticky Add to Cart to make your add to cart button stick to the page even when shoppers scroll away from the button.
Frequently Asked Questions About Shopify Product Pages
1. How do I filter products in Shopify?
Here’s how you can filter products on Shopify:
- Click on 'Products' on the Shopify dashboard.
- Right before the products, you will see a 'Filter Products' search bar and different filters you can use to narrow down your filtering. You can filter the products by vendor, availability, tags, product type, collection, and publishing error.
2. How to add products to different pages in Shopify?
Shopify lets you add products to your home page and even customize these product features to match the look and feel of your store design.
However, if you want to add your products to pages like collections and search results, it’s best to set up a product recommendation app like Wiser. This Shopify app lets you manually add products to different pages on your Shopify store, and even set up personalized recommendations based on shopper preferences.
3. How to add video on Shopify product page?
Here's how you can add videos to your product pages on Shopify:
- Click on 'Products' and choose the product for which you want to add videos.
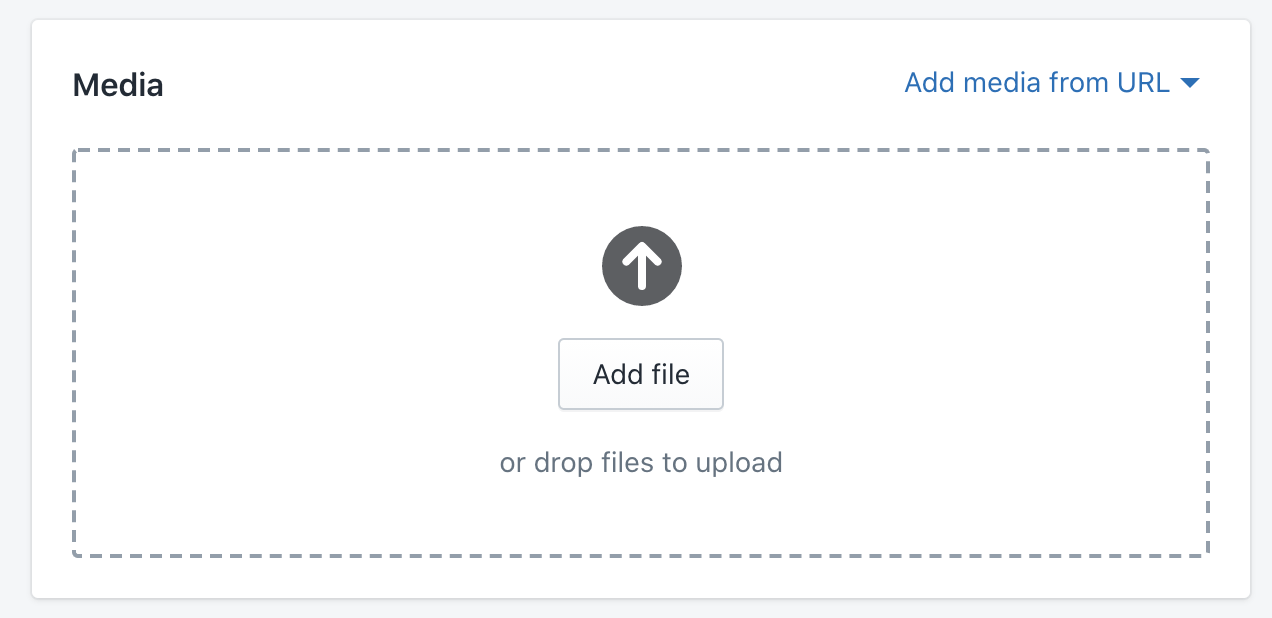
- Scroll down to the 'Media' section.
- You can either upload your video file or embed a video from YouTube. To embed a YouTube file, click on 'Add media from URL' dropdown. Click on the second dropdown option ‘Embed YouTube video’.
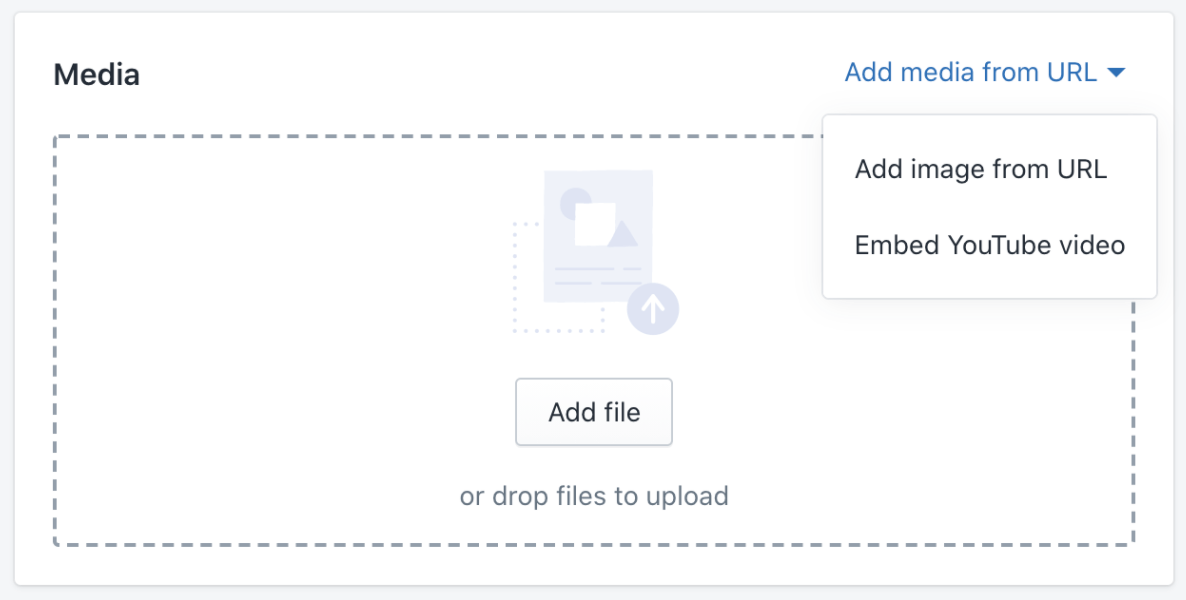
- You can add files directly by clicking on ‘Add file’ and uploading the video file from your desktop.
Set up high-converting Shopify product pages!
We hope this helps you set up Shopify product pages that yield better results. With numerous features available to merchants, it’s easy to set up product pages that reel in shoppers and nudge them to make a purchase.